Xiegu X6100 · Volume 3
Xiegu X6100 — Vol 3: Programming
HF/6m with built-in tuner, color touchscreen, internal battery
3.1 Programming workflow
The X6100 is unusual in the lineup because most of its “programming” is on-radio configuration, not codeplug-style channel programming. There is no CHIRP / RT Systems / vendor CPS workflow that imports a CSV of 1,000 channels and dumps it back to the radio. Instead, programming the X6100 falls into three categories: firmware updates, memory channel management, and CAT setup for digital modes.
3.1.1 Firmware updates
Firmware update workflow (stock Xiegu firmware):
- Download the firmware ZIP from Xiegu’s official site or from Radioddity’s support page. As of mid-2026 the relevant releases archived locally in
../../programs/xiegu-x6100/firmware-history/are:- 1.1.7 (released August 2023) — first release to expose the front-end attenuator menu, fixed multiple ATU bugs from the 1.1.x series, added the 10 W TX boost mode option, broader CAT command coverage matching Yaesu FT-817 / FT-857 emulation
- 1.1.8 (released September 2024) — refined the waterfall renderer (faster scroll), added selectable BFO offset for CW, fixed an issue where the radio could hang during ATU cycle on certain antenna impedances
- 1.1.9 (released September 2024, late) — primarily a bugfix release for 1.1.8 (battery-icon corruption after long charging cycles, USB enumeration issue on Linux hosts running newer kernels)
- Extract the ZIP onto a freshly-formatted FAT32 microSD card. The contents are typically
xiegu_firmware.binand aREADME.txt. - Power down the radio. Insert the SD card into the slot. Power on while holding the multi-function knob (this enters the bootloader / firmware update mode — TBD — verify exact key combination with the current firmware’s release notes).
- The screen shows an update progress bar. Total time: typically 3-5 minutes. Do not power-cycle during the update.
- After completion, the radio reboots. Verify the version under Menu → System → Firmware Version.
- Reset to factory defaults if the update notes call for it (typically only between major firmware-line transitions; 1.1.x → 1.1.y point releases usually preserve settings).
Keep the previous firmware ZIP in the firmware-history/ directory in case rollback is needed. Rollback works the same way — just point at an older .bin. The firmware-history/ directory currently holds approximately 3.8 GB of accumulated zip archives (most of the size is the bundled Linux rootfs images that ship inside the firmware bundles); these are gitignored from the repo and live on the local filesystem only.
3.1.2 Community firmware
The active community firmware projects for the X6100 are:
- Hello X6100 (im0o / GitHub) — the most mature community firmware fork. Replaces the entire UI layer with a more capable Linux-application-style interface, adds CW message memories, audio recording to SD card, IQ stream capture, more flexible filter settings, expanded CAT command set, and a community-improved waterfall renderer with adjustable color gradient. Installation is via SD card, same procedure as stock; the bootloader detects which is loaded. Switching back to stock firmware is supported.
- Reform_xiegu_x6100 (less actively maintained but still around) — earlier community fork; mostly superseded by Hello X6100.
- R1CBU’s “X6100-tools” (CW-specific community tools) — not a full firmware, but a useful adjunct for CW operators.
Risk profile for community firmware: low to moderate. The X6100’s SoC firmware update process is non-destructive (you can always flash back to stock), and the community firmwares are flashed via the same SD-card mechanism as the official ones. The main risk is if you depend on a specific feature only available in a particular community release and that release maintainer stops updating — at which point you may be left running an old firmware on aging hardware.
3.1.3 Memory channel programming
Memory channels can be set:
- On-radio — store the current VFO state to a memory slot via the menu, or edit existing memories via the touchscreen. This is fine for adding a handful of channels (favorite SSB nets, a few VHF/UHF FM repeaters on 10 m, etc.).
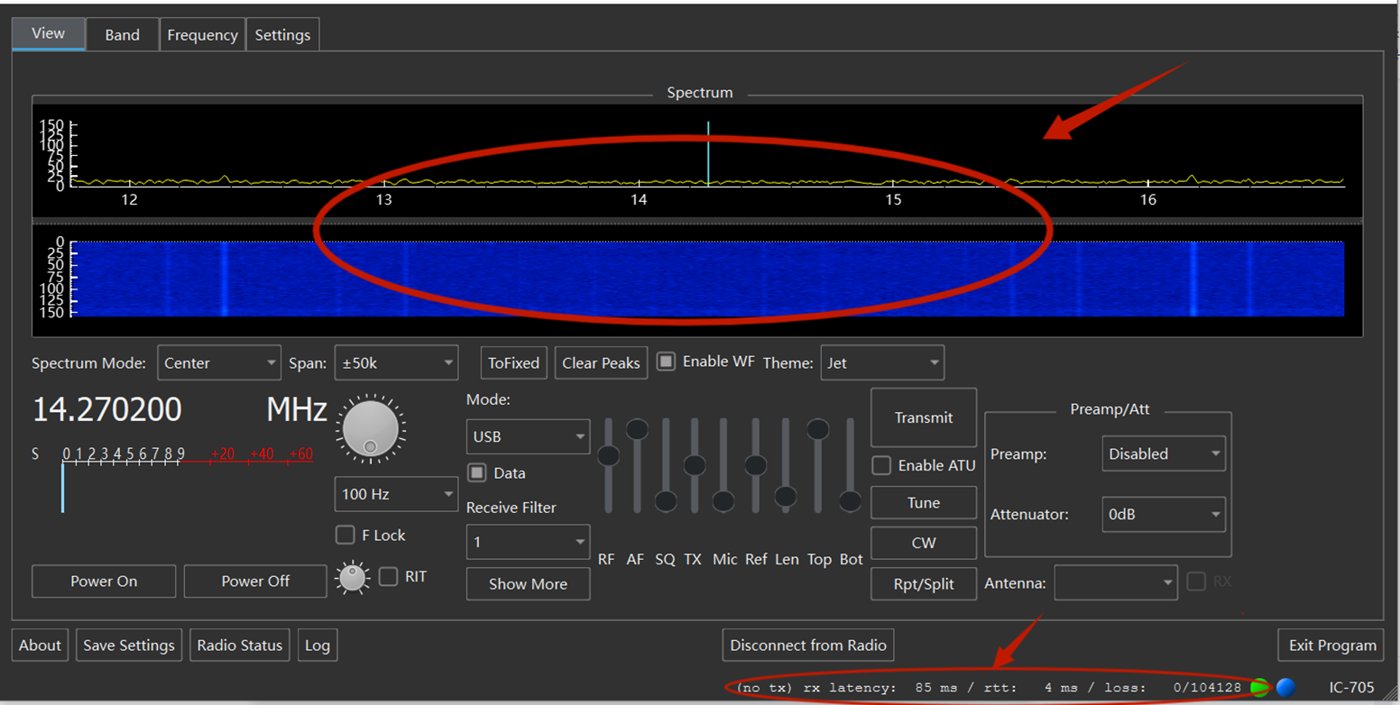
- Via wfView (see Vol 3) — wfView exposes a memory editor that pulls down the current memory bank, lets you edit it in a spreadsheet-style UI, and writes it back. This is the practical way to bulk-program 50+ memories.
The X6100’s memory format is internal to the radio’s NAND flash and not directly accessible as a file. The “backup” workflow is to use wfView (or any CAT-aware tool) to pull all 99 memories, save them as a CSV, and re-load if needed. See §5.
3.1.4 CAT control for digital modes
The X6100 enumerates over USB-C as a composite USB device exposing:
- A CDC-ACM serial port for CAT control (Yaesu CAT-compatible profile, broadly matching the FT-857/FT-897 command set)
- A USB Audio Class device for TX/RX audio
On Linux: device shows up as /dev/ttyACM0 (or /dev/ttyACM1 depending on enumeration order) and hw:CARD=X6100. No drivers needed for current Linux kernels.
On Windows: the COM port appears under Device Manager; the audio device appears in Sound settings as “X6100 USB Audio.” Windows 10 and 11 install the appropriate drivers automatically since the X6100 implements standard USB device classes.
On macOS: same — appears as a CDC serial port (/dev/cu.usbmodemNNNN) and as a USB audio device.
For WSJT-X (FT8, FT4, JS8Call, MSK144, JT65, etc.):
- Settings → Radio: Rig = “Yaesu FT-817” (works with the X6100’s CAT emulation), PTT Method = CAT, Mode = USB
- Serial port = the X6100’s CDC port (e.g.
/dev/ttyACM0,COM4), Baud Rate = 4800 (default), Data Bits = 8, Stop Bits = 1, Handshake = None - Settings → Audio: Input = X6100 USB Audio (or equivalent on your OS), Output = X6100 USB Audio
For fldigi (RTTY, PSK31, MFSK, Olivia, etc.):
- Configure → Rig Control → Hamlib: Rig = “Yaesu FT-817”, Device =
/dev/ttyACM0or COM port, Baud = 4800 - Configure → Sound Card: Sound Card = X6100 USB Audio for both capture and playback
For N1MM Logger Plus (contest logging):
- Configurer → Hardware → Radio: Type = FT-817, COM = X6100’s serial port, Baud = 4800
- N1MM does not need direct audio; SSB voice goes through the mic, CW through the key jack
For wfView:
- Connect dialog: Radio Type = Xiegu X6100, Serial =
/dev/ttyACM0, Baud = 4800 - Once connected, wfView shows the spectrum/waterfall as a host-side display, exposes all controls in a tabbed UI, and provides memory-editor and band-plan-overlay functions
Audio level setup: on the X6100, set Menu → Audio → USB Output Level to roughly -3 dB to -6 dB below clipping (visible as the input-level meter in WSJT-X/fldigi staying in the green during a received transmission, with brief excursions into yellow). On the host OS, set the X6100 USB Audio input gain to ~50% as a starting point and adjust from there.
3.1.5 CAT command set
The X6100 implements a subset of the Yaesu CAT command set (CAT-compatible-ish; some commands return Xiegu-specific extensions). Useful commands for scripting:
Table 1 — The X6100 implements a subset of the Yaesu CAT command set (CAT-compatible-ish; some commands return Xiegu-specific extensions). Useful commands for scripting
| Command | Hex sent | Function |
|---|---|---|
| Set freq | AA BB CC DD 01 | Set VFO A to AABBCCDD (BCD packed) |
| Get freq | 00 00 00 00 03 | Read current VFO A frequency |
| TX on | 00 00 00 00 08 | Key transmitter |
| TX off | 00 00 00 00 88 | Unkey transmitter |
| Set mode | XX 00 00 00 07 | XX = 00 LSB, 01 USB, 02 CW, 03 CWR, 04 AM, 08 FM, 0A DIG, 0C PKT |
| Get rx | 00 00 00 00 E7 | Returns squelch state |
| Get tx | 00 00 00 00 F7 | Returns PTT state |
This list is partial — the full CAT manual (the Yaesu FT-817 CAT reference and the X6100 firmware release notes) is the authoritative source. Hamlib’s rigctl library handles the abstraction so you typically don’t write raw CAT bytes; for one-off scripting it works:
rigctl -m 1020 -r /dev/ttyACM0 -s 4800 f          # get freq
rigctl -m 1020 -r /dev/ttyACM0 -s 4800 F 14074000 # set to 14.074 MHz
rigctl -m 1020 -r /dev/ttyACM0 -s 4800 T 1        # PTT on
rigctl -m 1020 -r /dev/ttyACM0 -s 4800 T 0        # PTT off
(Hamlib rig ID 1020 is “Yaesu FT-817 / FT-857 / FT-897 family” — the X6100 lives here in Hamlib’s catalogue rather than as a dedicated Xiegu entry.)
3.2 Codeplug backups
The X6100 codeplug concept is different from a DMR radio. There is no monolithic “codeplug” that contains all configuration in one file; instead, there are several distinct config artifacts to back up:
3.2.1 What to back up
Table 2 — What to back up
| Artifact | What it contains | Backup method | Backup cadence |
|---|---|---|---|
| Memory channels (99 slots) | Frequency, mode, filter, CTCSS/DCS, tag | wfView CSV export | After every significant memory edit |
| Settings (filter widths, AGC, NR/NB defaults, USB audio levels) | All menu preferences | Photograph each menu page; or transcribe to a text file | Annually, or before firmware update |
| Firmware version | Just the version string | Note in a text file | At every firmware update |
| Tuner cal data (per-band best-match positions) | Persisted in the radio’s NAND, not user-readable | Not directly backupable — the tuner re-learns | n/a |
| ATU memory (best match per recently-used freq) | Internal NAND | Not directly backupable | n/a |
The X6100’s NAND flash isn’t directly readable as a filesystem from the user side. The tuner’s learned positions and the radio’s internal settings are persisted there and survive power-off, but cannot be “exported” as a file the way a DMR codeplug can. The practical implication: a factory reset wipes everything, including learned tuner positions, and recovery is by re-tuning each antenna once after the reset.
3.2.2 Backup file locations
- Firmware archive:
../../programs/xiegu-x6100/firmware-history/— versioned snapshots of every firmware release used on this radio. - Memory channel exports:
../../programs/xiegu-x6100/memory-backups/— periodic CSV exports from wfView. Filename convention:x6100-memories-YYYYMMDD.csv. TBD — most recent backup: verify the date the next time the memory bank is touched. - Menu settings:
../../programs/xiegu-x6100/settings-snapshots/— markdown files documenting current menu values, with date stamps.
3.2.3 Recovery procedures
Recovery from a corrupted firmware update (radio fails to boot or boots into a broken state):
- Power off, remove SD card.
- Format a fresh microSD as FAT32.
- Copy the previous known-good firmware bin onto it (from the
firmware-history/archive). - Insert SD, power on holding the multi-function knob.
- Reflash; radio reboots to the older firmware.
If the firmware bootloader itself is corrupted (rare), the recovery requires Xiegu’s USB bootloader tool — contact Radioddity or the Xiegu factory; this is a service operation, not a user procedure.
Recovery from a memory channel wipe:
- Connect wfView, open the memory editor.
- Load the most recent CSV backup from
memory-backups/. - Click “Send to radio.” All 99 memories are written.
- Spot-check 2-3 memories on-radio to confirm.
Recovery from a settings menu wipe (after a factory reset):
- Walk through the menu manually, restoring each setting from the most recent settings-snapshot markdown.
- Re-tune each commonly-used antenna so the ATU re-learns its match positions.
- Re-set USB audio levels for any digital modes you use (this is the most-commonly-forgotten setting; if it’s wrong, WSJT-X will report “Tx audio level very low” or “very high” and the rig will appear to not be transmitting properly).
The recovery workflow is more manual than for the DMR rigs in this series because the radio’s internal state isn’t dump-and-restore-able. The compensation is that the X6100’s state surface is smaller (no 1,000 talkgroups, no 50 zones, no roaming tables, just a few menu pages and 99 memories).
Comments (0)